

January is Bare Root Rose Planting Season in Santa Barbara
It’s that time of year again in Santa Barbara. Before you prune any roses or tree you may already have (a blog that will be coming shortly in January), you should consider whether or not you’d like to include new roses and fruit trees in your garden this season. You will see them at every nursery and hardware store, but what is the correct way to prepare and plant them in Santa Barbara?
As always, our staff at Down To Earth Landscapes, Inc. is here to assist you with practical tips and suggestions on your latest project.
Like many other plant material, roses go dormant in the winter. They thrive in summer heat, but they also need their time to rest and rejuvenate. In California, we often need to force that sleep by cutting back the canes in a way that causes them to come back healthier. Roses that are cut back in that extreme way and are wrapped in plastic bag without soil in preparation for being planted or that come in cartons full of damp organic soil are called bare root.
The most important thing to note about these plants is this: the roots must stay moist. If the roots dry, the plants will die.
Our Six Step Approach for Planting Bare Root Roses
 Step 1: Unwrap the rose, shake off the packaging material and cut off the tag. Prune broken root material. Plunge the rose into a bucket until submerged—for at least 30 minutes. Vitamin B1 can be found at your local hardware store. This will keep the roots from going into shock.
Step 2: Dig the hold in which you wish to plant your rose. The whole needs to be approximately two feet wide and one foot deep.
Step 3: Amend your soil. Refer to our previous blog regarding soil types and amendment (or give us a call) if you are unaware of the soil type you have. Use an organic matter specifically for roses in your soil amendment.
Step 4: Form a ten-inch-tall cone of soil in the bottom of the hole and center the rose on top of it. Spread the roots down the sides of the cone. Pull back fill into the hole, firming it with your hand (never your foot) as you go. Your hands will aerate the soil. Your feet will compact it.
Step 5: When the hole is filled, water until the soil around the plant turns to mud. Gently rock the rose back and forth to settle it in and to allow air pockets to bubble up through the mud. This process is known as “puddling in.”
When you’re done, the rose’s topmost roots should be barely below the soil surface, and the graft (the swollen part just above the crown), if the rose has one, should be well above the soil surface.
Step 6: After puddling, add enough backfill to level the soil. Make a three-inch-high watering basin about ten inches from the base of the rose. Stick a label in the ground beside the rose and you’re done.
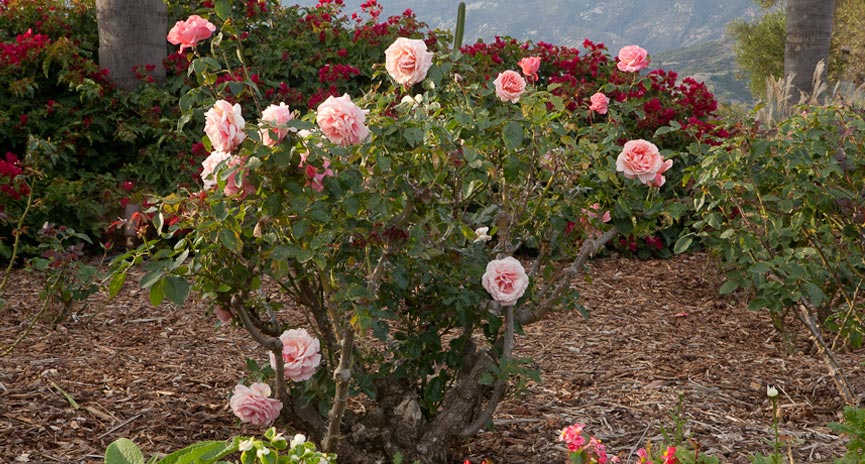
If you follow these tips, come spring you will have beautiful roses. Roses bloom early in Santa Barbara. We often have first bloom by Valentine’s Day. Wouldn’t it be nice to give your sweetie a long stemmed rose from your own garden?
In our next blog, we will explore bare root fruit trees, as it is also the time of year for those.
And, as always, we are here to help if you need us. Share your rose garden challenges in the comments below.


